
GameBoyPi Chapter 1: Descent into Madness
Origins
I have always been someone who likes to tinker with electronics and other objects. I have worked on cars, computers, appliances…and I was one of those kids in school who was always taking apart their mechanical pencil and putting it back together.
Recently I had been watching several videos on YouTube of people repairing old, broken video game consoles and restoring them to their former glory in both appearances and function. I am a big proponent of the phrase “it’s not rocket science,” and asked myself, “why not me?” Maybe I could fix a broken console and make a few bucks, or hang onto it for my personal satisfaction and enjoyment. Perhaps I could even document the process and garner some attention online. Well, here I am.
The $50 eBay Game Boy Advance SP
I took to eBay to identify my first patient/victim. I had never owned a Game Boy Advance SP as a child, but I did have a Game Boy Color and regular Game Boy Advance. I still have them, and they still work and look just like new. Boring. The SP appealed to me because of its flip phone-esque form factor, rechargeable battery, and, most importantly, backlight. I managed to find an SP that had a shell in decent condition among a sea of SPs that had been scratched to hell, presumably from being continuously put in pockets and pulled out. The seller reported that it “would not power on,” and after doing some preliminary research, that seemed like an easy enough thing to troubleshoot and fix for someone new to these.
As it turned out, the seller lied.
The SP did actually power on, as displayed by its illuminated green power LED, but would not do anything else. No screen, no sound, nothing. It also would not charge when plugged in, nor show any sign that the charging cable registered as being plugged in at all, so now I was in a race against whatever juice was left in the rechargeable battery.
Time to open ‘er up.
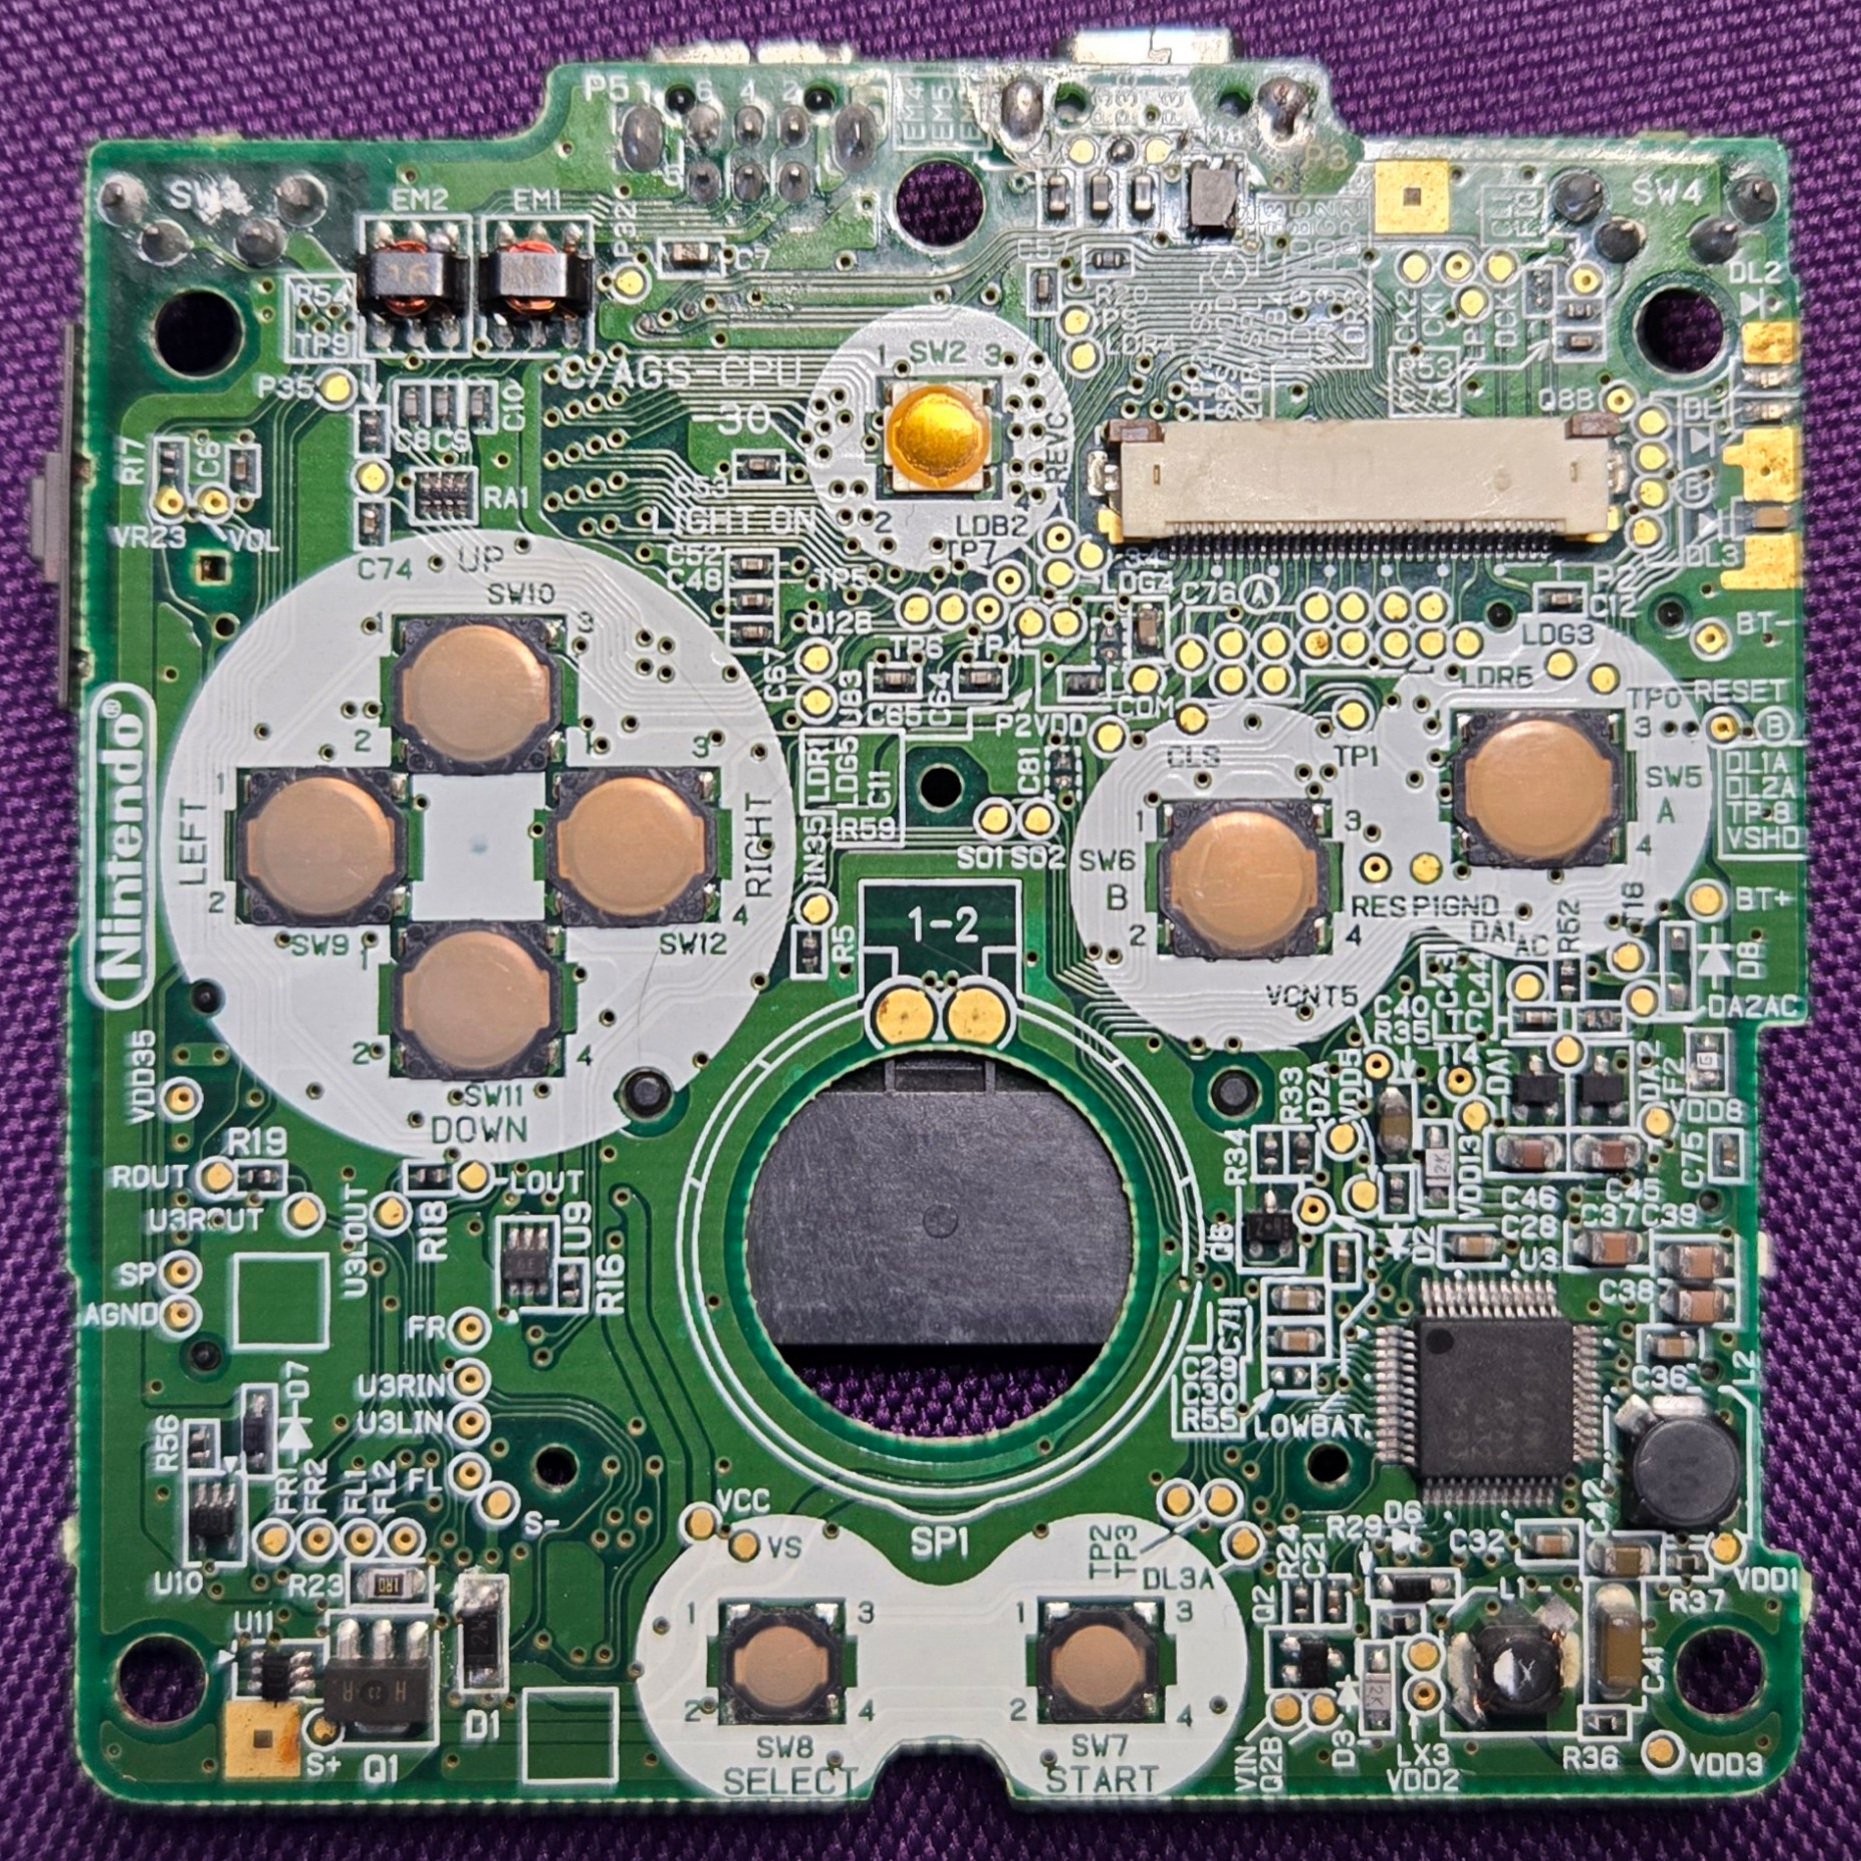
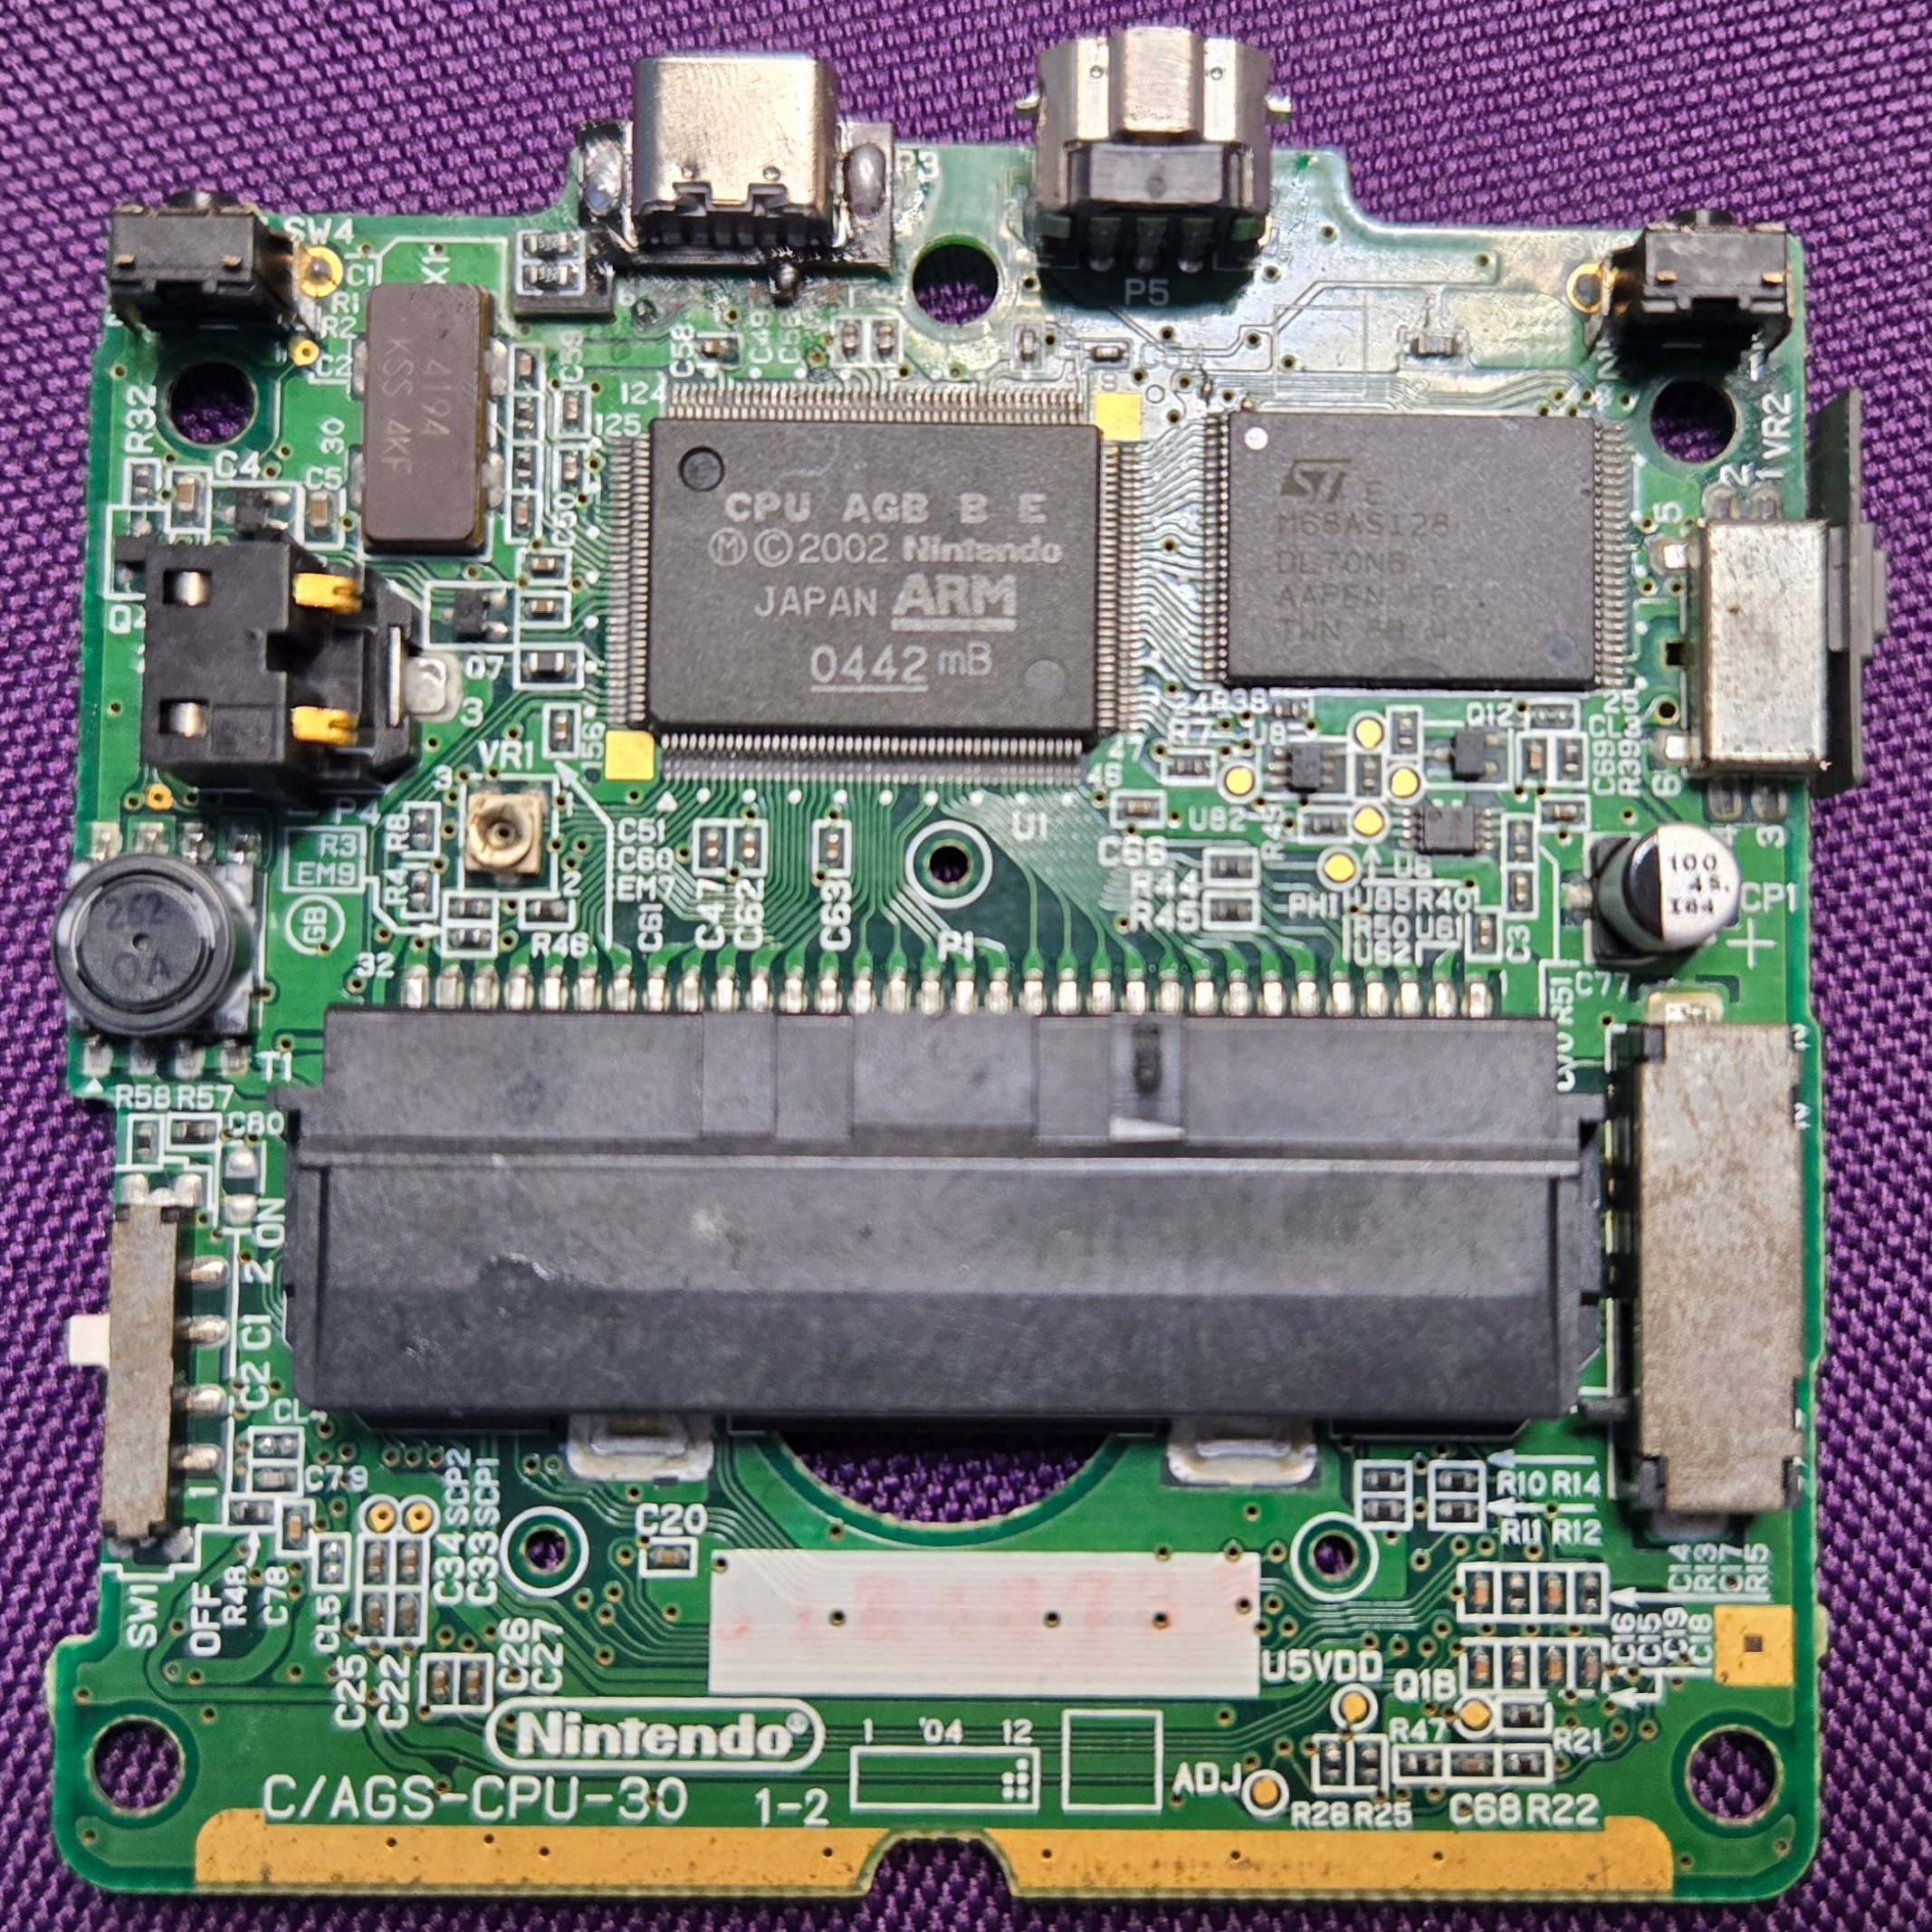
Problems
The board had some kind of grayish corrosion on everything that should have been shiny silver. The water damage indicator sticker that is normally present was gone. I started trying to clean the board with isopropyl alcohol, but this did not seem to help.
Upon closer inspection of the components, it was obvious that someone had been in there before me, which is almost always a negative. Is this a system someone else had tried to repair before me and screwed up worse? The two main fuses (F1 and F2) and diode (D1) had obviously been replaced. The original charging port (not pictured) only had its two mounting posts soldered in, and the rest of its pins were just dangling loose in the air. “Okay,” I think, “maybe I can just add a USB-C charging port mod and get this thing to charge.” Well, um, maybe if the solder pads for the charging port had not been completely sheared off. Crap. Furthermore, the C44 capacitor, about the size of two grains of sand, was loose and promptly relieved from its solder joints after my agitation. I managed to keep track of it for a few days, but it eventually disappeared into a carpet somewhere. The EM8 component looked a little sketchy too, missing a chunk out of one corner.
I ended up soldering on the USB-C port mod for practice. Baby steps.
Solution
After exhausting what felt like the entirety of all possible Google search results, it seemed like time to give up. I had previously stumbled into the Gameboypi project on GitHub, and established it as the backup plan in case I could not get this SP working. I had a spare Raspberry Pi Zero W sitting around waiting for a job to do, so why the hell not?
The project replaces all of the GBA SP internals with a custom PCB, Raspberry Pi, and other components readily available on the internet. Gameboypi is intended to be implemented with RetroPie, which can be installed on top of an existing operating system, or installed as its own operating system image. Since I am building a console, I am opting for the latter option.
And I’m making five.